Change Requests
Change Requests (CRs) provide a controlled, branch-based process for making changes to items. Each CR creates an isolated editing branch in the workarea’s git repository, and modifications go through an approval workflow before merging back to main.
Change Request List
Navigate to Change Requests in the sidebar. Filter by status: All, Draft, Open, In Review, Approved, or Merged. CRs are grouped into Active and Closed sections when viewing all.
Creating a Change Request
- Navigate to Change Requests in the sidebar
- Click New Change Request
- Enter a title and an optional description explaining the proposed change
- The CR is created in Draft status with its own branch
The Change Request Lifecycle
A CR’s status is driven by its workflow — use the status dropdown in the detail page header to see and perform the available transitions, exactly as for items. The default change-request workflow is:
| Transition | From → To |
|---|---|
| Submit | Draft → Open |
| Request Review | Open → In Review |
| Approve / Reject | In Review → Approved / Rejected |
| Merge | Approved → Merged |
| Reopen | Rejected → Draft |
Administrators can change these statuses and transitions — including which statuses may merge — in Settings → Workflows (the Change Request workflow). Transitions can carry guards and permission requirements like any other workflow.
Note: A CR’s status can never be changed by editing a field — it only moves through workflow transitions.
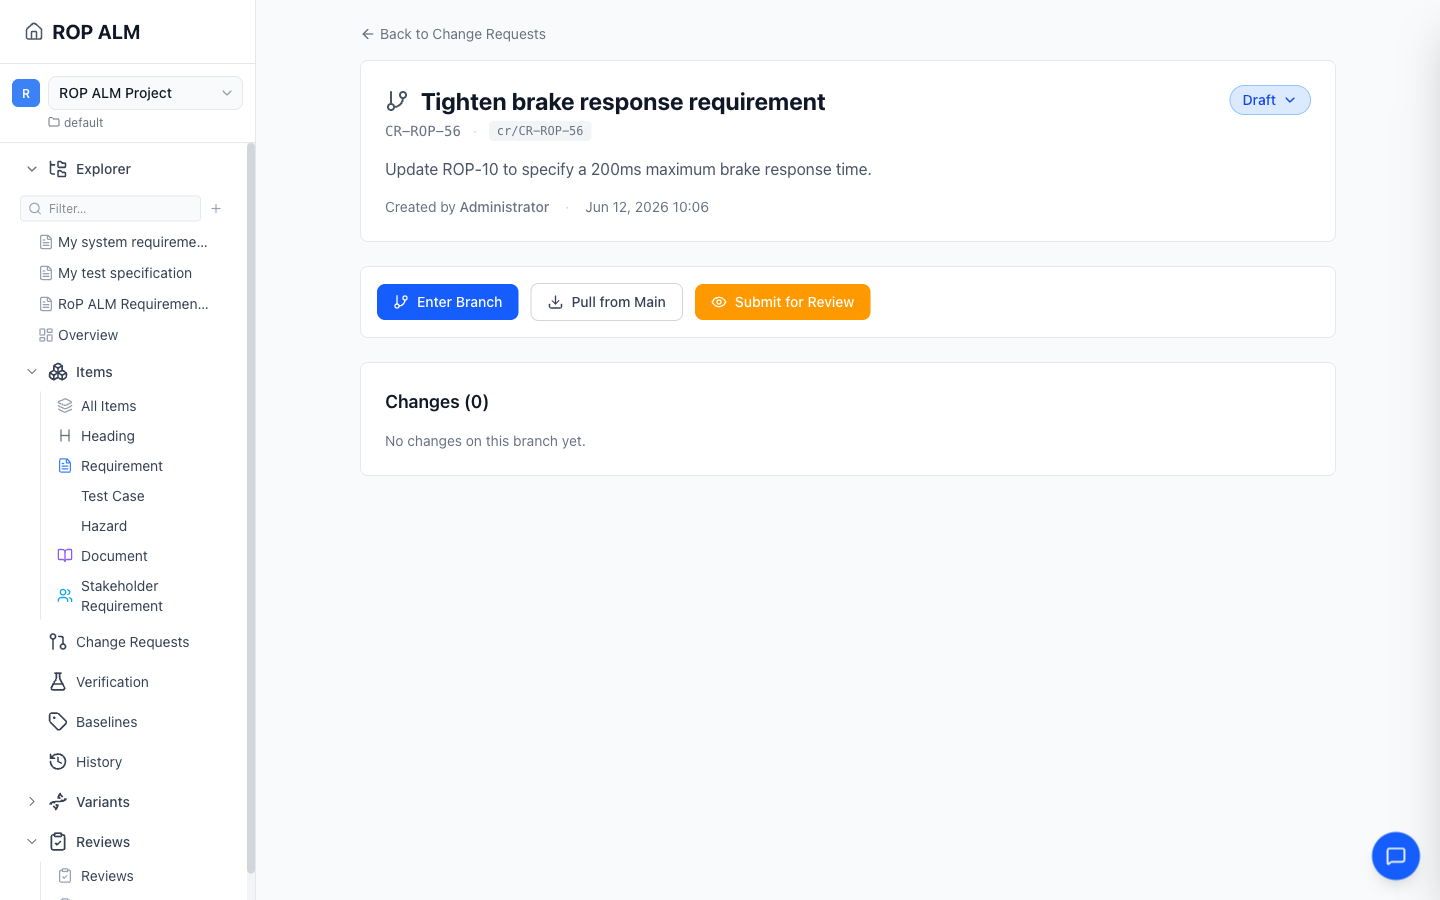
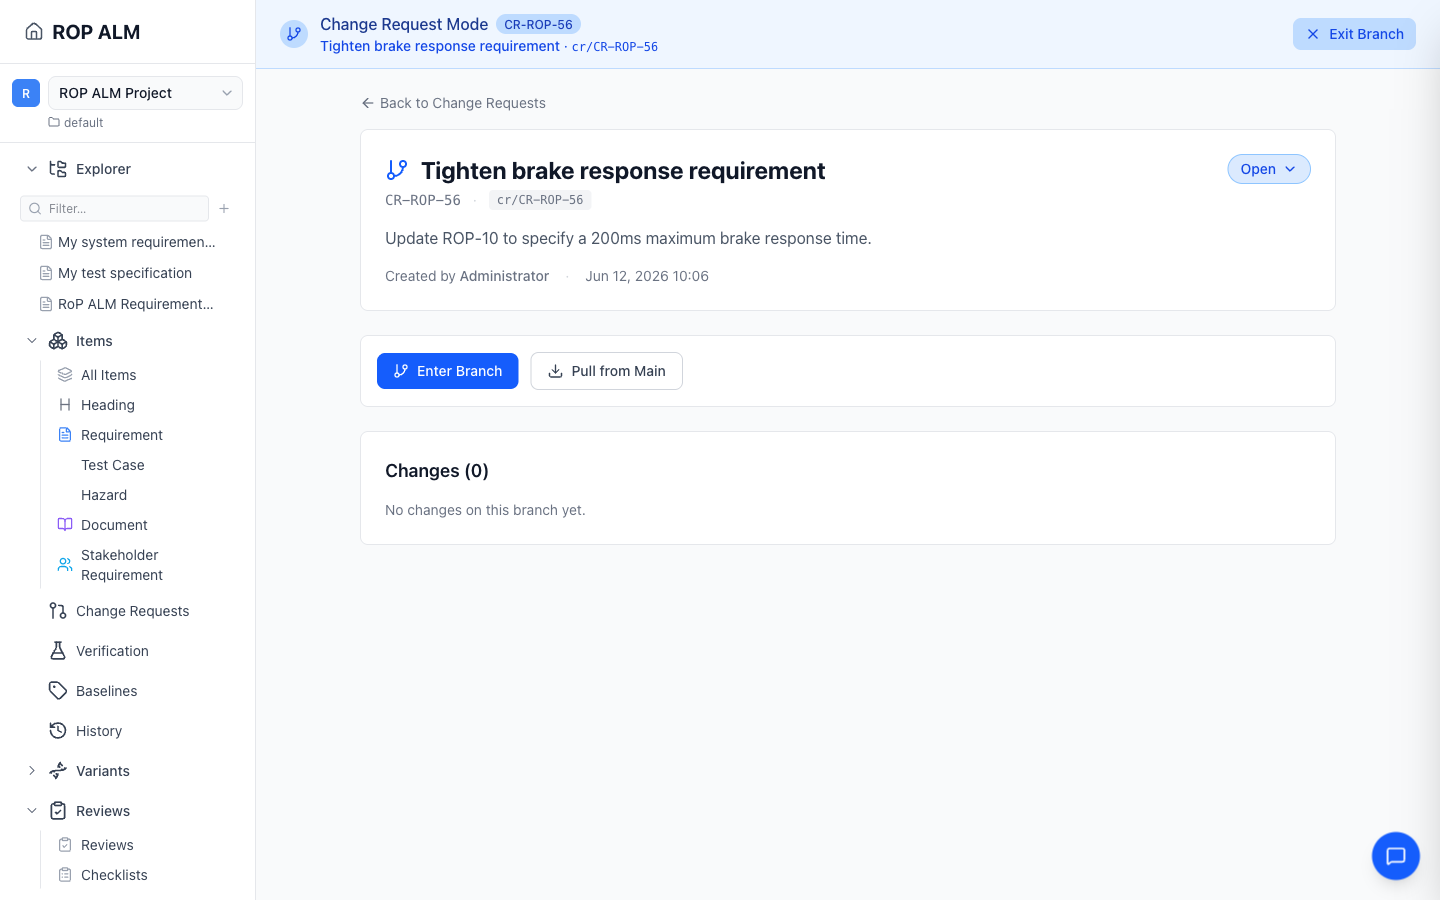
Working in CR Mode
- Open a CR and click Enter Branch to enter CR mode
- A blue Change Request Mode banner appears at the top of the screen showing the CR ID, title, and branch name
- Edits to existing items are now recorded on the CR’s branch instead of main
- Click Exit Branch in the banner to return to the main branch
Viewing Changes
The CR detail page shows a unified Review panel listing every changed item on the branch (PR-review style). A summary bar reports the number of changed items, any conflicts to resolve, and how many items are new on main. Each row shows the item’s title, ID, type badge, and a color-coded change type (Added, Modified, or Deleted); click a row to expand its field-level diff. Rows that clash with main are flagged as Conflict and expand to an inline resolver instead.
Merging Changes
Merging is part of the workflow: performing a transition into the Merged status is the merge. The Merge to main button sits in the Review panel’s action footer and appears only when the CR’s workflow offers a merge transition from its current status and you hold that transition’s permission — with the default workflow, that means the CR must be Approved.
The merge first integrates the latest main into the CR branch, then fast-forwards main to include the branch’s changes, re-indexes the affected items, and deletes the CR branch. When the branch conflicts with main, the clashing items are listed as conflicts in the Review panel; resolve each one inline (pick a side per field, or keep-vs-delete for a delete/modify clash) and then use Resolve & merge to main to resolve and merge in one step, or Resolve & update from main to bring only the resolved changes onto your branch without merging.
Pulling Updates
When others have advanced main, a Pull from main button appears in the action footer; click it to bring their changes onto your CR branch and keep it up to date. If those changes conflict with yours, the affected items surface as conflicts in the Review panel — resolve them inline, then use Resolve & update from main.