Navigating Administration
Every administration page in ROPARC — whether you are configuring a single workarea, running the whole installation, or managing your organization account — lives inside the same frame: a dark navigation rail on the left and the settings page on the right, under a thin amber strip that signals “you are in administration”.
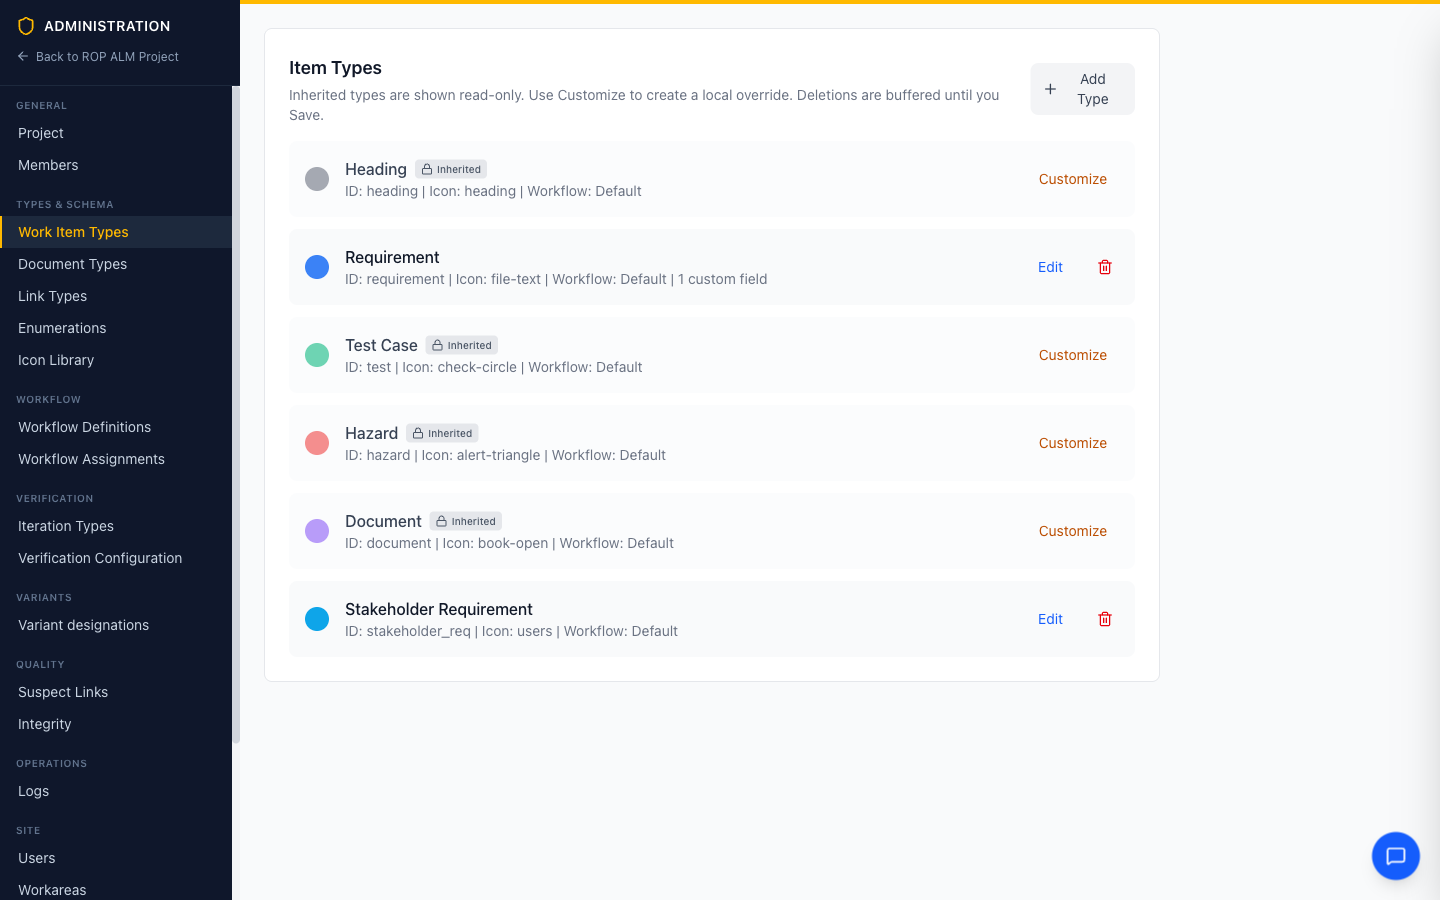
The rail has four parts, top to bottom: the brand header (with the workarea switcher — see Switching workareas below — and a back link), the scope switcher, the quick filter, and the accordion groups of settings.
Scopes
Administration is divided into three scopes, each configuring a different level of the system. The scope switcher — the segmented control near the top of the rail — chooses which one you are looking at, and the amber-filled segment shows where you are.
| Scope | What it configures | Who sees it |
|---|---|---|
| Workarea | One project: its item and document types, workflows, links, enumerations, members, and more | Anyone administering a workarea |
| Site | The whole installation: users, roles, workareas, workarea groups, and global configuration | Site administrators |
| Organization | Your account: organization membership and billing | Owners and admins of an organization on ROPARC Cloud |
The switcher only shows the scopes you can reach. A workarea administrator who is not a site administrator sees a single scope and no switcher at all. The Organization scope appears only on ROPARC Cloud (the hosted SaaS), and only for organization owners and admins — self-hosted installations never show it. Clicking a scope takes you to that scope’s landing page (the workarea’s Project page, the site Users page, or your organization Members page).
Accordion groups
Within a scope, settings are collected into groups. The rail shows one group open at a time: opening a group collapses the previously open one. A collapsed group is a single labelled row with a count of the settings inside it; clicking it expands the group and its chevron rotates.
The rail remembers which group you had open per scope, so switching between Workarea and Site and back returns each to where you left it. Whenever you open a settings page directly, the group that contains it opens automatically and the active page is highlighted in amber with a left-edge marker.
The Workarea scope has five groups:
| Group | Settings |
|---|---|
| General | Project, Members |
| Data Model | Work Item Types, Document Types, Link Types, Enumerations, Icon Library |
| Workflow & Verification | Workflow Definitions, Workflow Assignments, Iteration Types, Change Request Types, Verification Configuration, Notifications |
| Quality & Variants | Suspect Links, Integrity, Variant designations |
| Extensions & Logs | Plugins, Logs |
The Site scope has three:
| Group | Settings |
|---|---|
| Access & Security | Users, User Groups, Roles & Permissions, Effective Permissions |
| Provisioning | Workareas, Workarea Groups, Templates |
| Platform | Global Configuration, AI Usage |

The Organization scope (ROPARC Cloud only) has a single Account group with Members and Billing.
Quick filter
The filter field jumps straight to a setting instead of hunting through groups. Press ⌘K (Ctrl+K on Windows/Linux) anywhere in administration to focus it; start typing and the group list is replaced by a flat list of matches within the current scope, each showing the setting name over its group, with the matched text highlighted.
The count header (e.g. “3 matches in Workarea”) tells you how many settings matched and in which scope. Press Escape to clear the field and return to the groups, or click the × in the field.

When nothing in the current scope matches, the filter shows an empty state. If the same term does match a setting in another scope you can reach, the empty state points you there — searching for “users” while in the Workarea scope reminds you that users live under Site.

Switching workareas
When you are in the Workarea scope, the subtitle under “Administration” in the brand header is the name of the workarea you are configuring. If you administer more than one workarea, it is also a switcher: click it to open a list of your workareas and pick another. ROPARC keeps you on the same settings page in the chosen workarea — switch from one workarea’s Work Item Types to another’s without navigating back out. The current workarea is marked with a check. When you only have one workarea, the subtitle is plain text with no dropdown.

Below the brand header, a back link (“Back to {workarea name}”, or “Back to workareas” in the Site and Organization scopes) returns you out of administration.
Locked settings
Some settings depend on your plan. On ROPARC Cloud, a setting that your plan does not include appears dimmed with a lock icon and cannot be opened; hovering it explains that it requires an upgraded plan. A group that contains a locked setting shows a small amber lock in its collapsed header, so you can tell at a glance that something inside needs a higher plan. Self-hosted installations are unlimited and never show locks.
Related topics
- Workarea Administration — the Workarea scope settings in detail
- Site Administration — the Site scope settings in detail
- Configuration Inheritance — how global, group, and workarea settings merge